The Experts’ Guide to Taking Better Sunset Photos

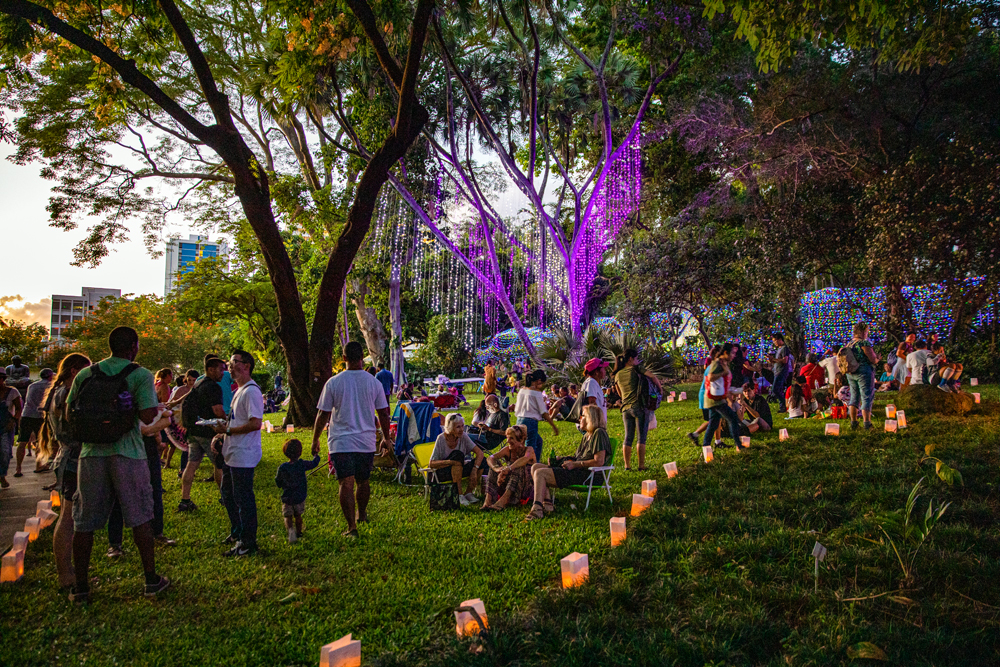
Photo: Kale Oliva
For better or worse, Hawaii brings out the amateur photographer in us all. Majestic mountain views? Empty stretches of white sand? We can hardly be blamed for the urge to whip out our iPhones and play Ansel Adams.
The problem? Most of us don’t know much about landscape photography (or food photography or action photography, for that matter). Despite our best attempts, the sunset we just photographed looked much better IRL.
But it doesn’t have to be this way. The answer lies in education.
With the help of professional photographers and prolific Instagrammers, we tackle one of the mainstays of the IG diet: The Sunset Session.
Beyond Native
“You are never going to take a quality photo with Instagram or the iPhone Camera app,” maintains Honolulu photographer David Croxford. Why? Too little control. For taking sunset photos, Croxford recommends the apps 645 PRO ($3.99) and True HDR ($1.99). For editing photos, he prefers Photo Toaster ($2.99). In addition to allowing the user to straighten the image incrementally (say goodbye to the crooked horizon line), Photo Toaster’s slider-controls let the user make more subtle calls about the image’s color temperature than Instagram’s filters do.
Lightening the Dark
When I look at the screen, it looks great, but when I take the photo, everything gets dark. If this sounds familiar, bear with me. The reason for the photo growing dim is actually too much light. Here are two ways to address this particular photographic bugbear:
Using 645 Pro (or other photo apps with auto-exposure function)
1. Frame the photo with the sun wherever you want it to be.
2. Using the auto-exposure function (on 645, it’s a small circle with the letters AE), take the light reading by tapping on some darker part of the screen (NOT the sun).
3. Take the photo.
By using this method, the camera will adjust the lighting measurements according to where you tap, rather than using the brightest part of the image (the sun) as a guide, and voila. Shadows vanquished.
Using True HDR
HDR stands for High Dynamic Range, which makes it the perfect tool to use in situations of varied light. When you take a photo using True HDR, your phone is actually capturing 3 images at different light readings and then merging them together. The key? Holding the camera very still.

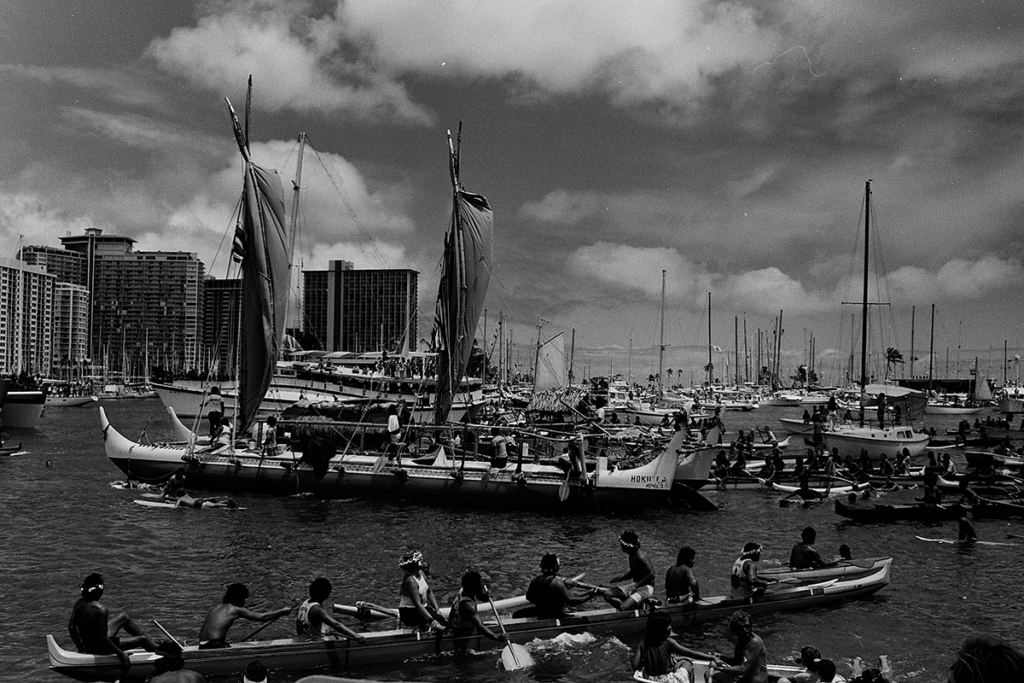
Photo: Kale Oliva
Find Your Own Angle
When you see a group of people taking a photo from the same lookout, don’t assume they’re on to something. Kale Oliva (IG: @elak8o8) is a Honolulu-based photographer and prolific Instagrammer (1,947 posts and counting) who says the answer lies in “imagination” and creating the right opportunities, not simply technical expertise. “Not every day is going to be as clear as the next. Improvise. Get out of the city or get to higher ground.” It’d be tough to get higher than Oliva did for this one, shot from the roof of The Ilikai.
Croxford’s two cents on composition? “The worst place in the world to put what you’re photographing is in the middle.”
Finally, Wait and Wait
The advice that came up most often: have patience, young grasshopper. Sunset isn’t a moment, but an experience. “Wait for it,” Oliva says. “When it finally is golden hour, you experience colors like no other, reminding you to live aloha.”