Back-to-School Textbook Cover
Simple supplies and instructions for making a stylish textbook cover.
SUPPLIES:
• Paper grocery bag(big enough for your textbook)• Textbook• Scissors• Double-sided tape• Optional: Various embellishments, coloredmarkers, glue, edge or shape punches, cardstockpaper, assorted stickers
DIRECTIONS:
1. Open the paper bag and cut one of the corners from the top to the bottom.
2. Cut the bottom square of the bag off the four sides to create one large sheet.
3. Lay the sheet on a fl at surface and place your textbook in the center with both flaps flat. If your paper bag has a logo make sure the logo is facing toward you when you place the textbook on top.
4. On both the top and bottom halves, cut off the excess piece where the binding of the textbook is.
5. On the right flap, fold the top and bottom pieces of your paper bag over
the textbook. Use double-sided tape to tape down the excess piece of paper. Avoid taping the cover to your textbook.
6. Fold the outer piece of the paper bag and tape to the previous fold. Be careful not to tape it to your textbook. Leave a little slack of paper before you fold so when you close your textbook the paper isn’t too tight. Your right flap should completely cover the inner edge.
7. Repeat steps 5 and 6 on the left side of the textbook.
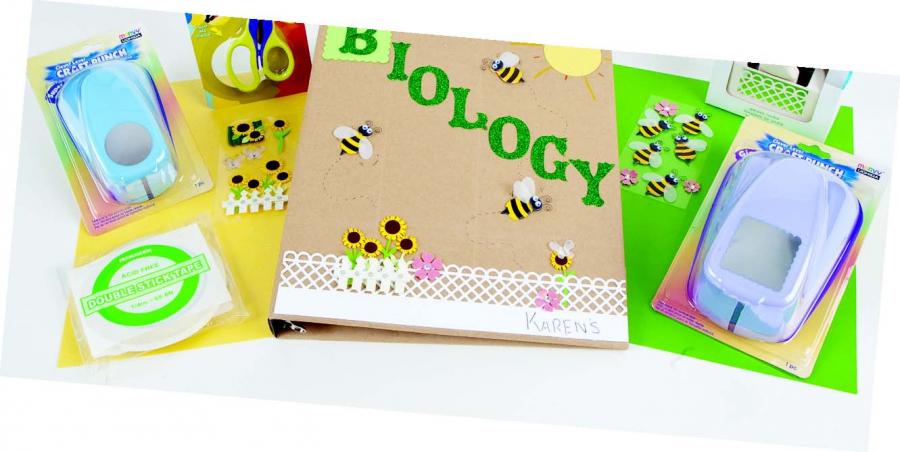
8. Encourage your keiki to draw designs on the cover with colored markers and/or personalize it with embellishments. Here are a few ideas:
• Use sticker letters to spell out the name of your
class or your name.
• Glue rhinestones or half-round gems to add a
little sparkle.
• Create designs out of cardstock paper with
edge/shape punches and tape them to the
cover, adding depth and creativity.
• Use stickers of your favorite animal, hobby or
sport.
This month’s craft is courtesy of Joshua Hayhurst
from Crafts in the City, 1040 Bishop St., 536-5410.