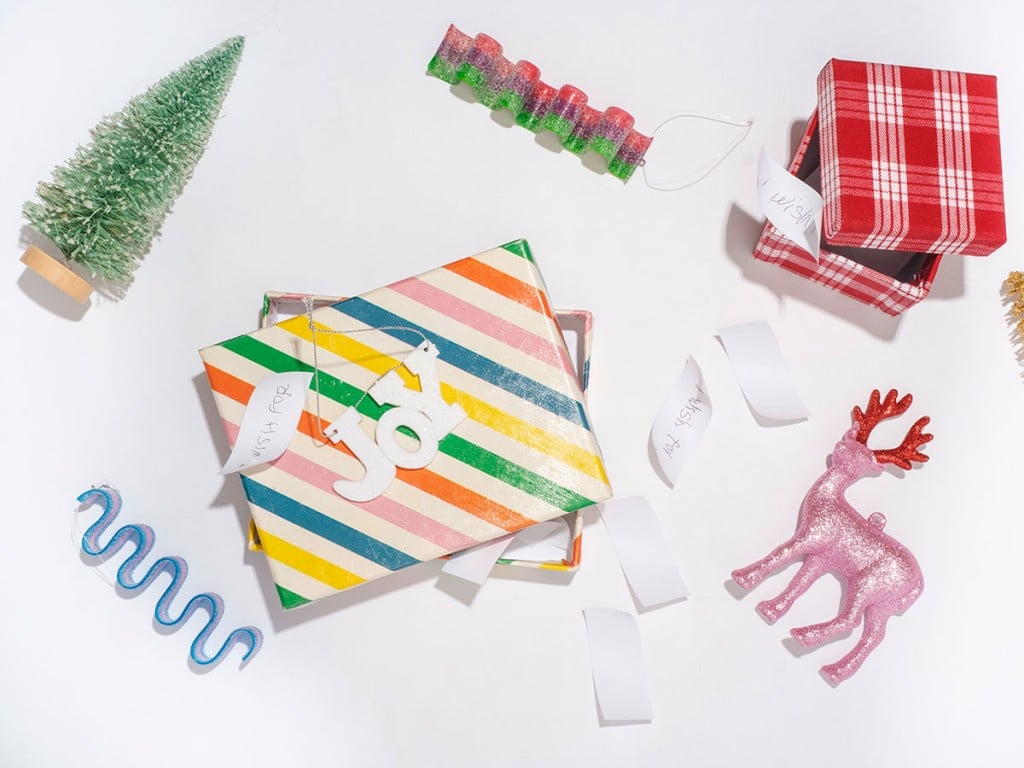
5 Easy and Fun Handmade Holiday Gifts
From peppermint-chocolate popcorn to fizzing sidewalk chalk, five budget-friendly and fun gift ideas for everyone on your list.
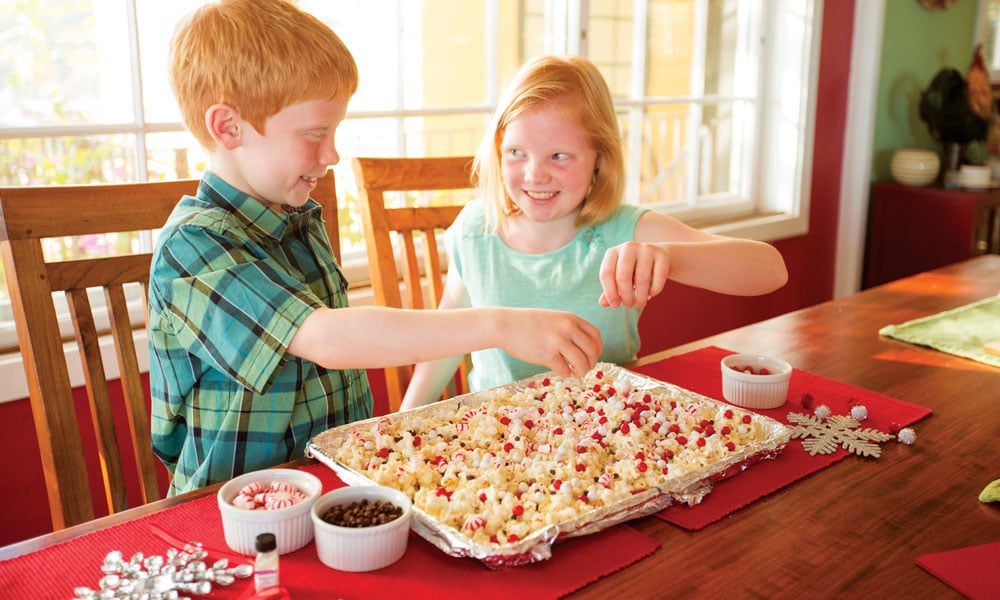
Candy Cane Popcorn
Add a festive flair to a favorite family snack with colorful peppermint and indulgent white chocolate.
Ingredients and supplies
- 12 ounces of white chocolate chips
- 8 cups of popcorn, popped
- 1/2 cup of crushed candy canes or Starlight mints
- 2 to 3 drops peppermint oil
- 1/2 cup mini chocolate chips
- Dash of salt
- 1/2 cup each of red and white
- Sixlets (or candy of your choice)
Yield: About 6 packages.
Directions
- Place popcorn in a large mixing bowl. Make sure there is enough room to mix.
- Microwave white chocolate chips for 11/2 minutes then stir. Continue microwaving then stirring every 30 seconds until chips are soft and appear melted when stirred.
- Add crushed candy canes or mints and peppermint oil to melted white chocolate and stir quickly. Pour over popcorn and toss until all kernels are covered.
- Spread the mixture out on a cookie sheet and sprinkle with Sixlet candy and mini chocolate chips. Add a dash of salt.
- Allow the mixture to set then break up into bite-size pieces.
- Thanks to theidearoom.net for the idea.
SEE ALSO: 🤙 Make It: Shaka Wreath
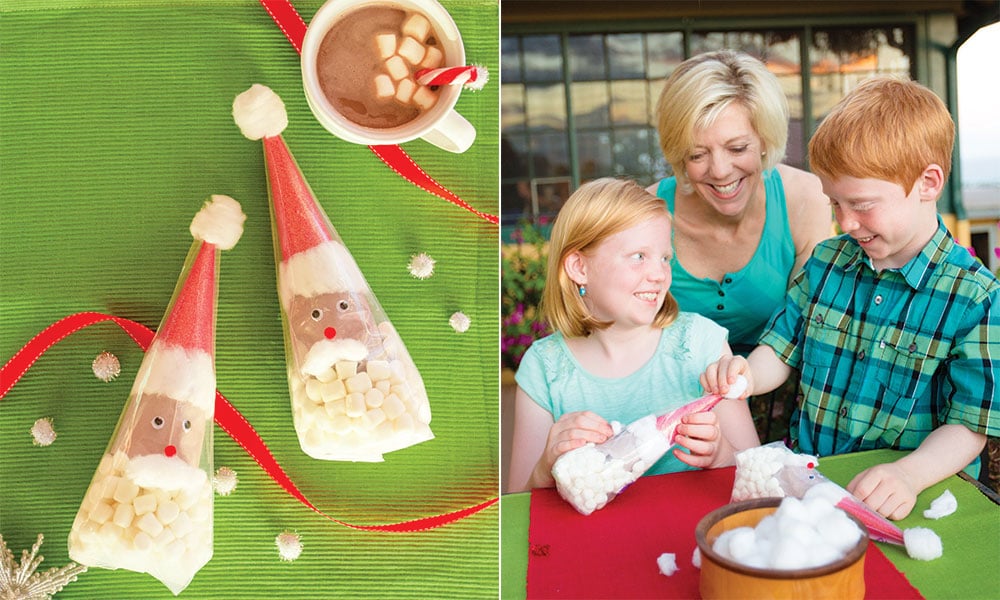
Hot Cocoa Santas
Mix it up with adorable Santas that deliver single servings of a favorite holiday drink.
Ingredients and supplies
- 1 cup hot cocoa mix
- 1-11/2 cups marshmallows
- 2 plastic cone pastry bags
- 3 or 4 cotton balls
- 1 red pom pom
- 2 googly eyes
- Red paper, about a 6-inch square
—plus—
- Hot glue gun
- Tape
- Scissors
- Twist ties
Directions
- Fill one pastry cone with cocoa mix.
- Use a twist tie to secure the bag. Trim off the excess plastic.
- Cut a triangle from the red paper. Wrap it around the cocoa-filled bag and glue along the edge of the paper to make a cone. Slip the red cone off and trim the bottom to make even.
- Pull a few cotton balls apart to make the fur for the Santa hat. Apply hot glue around the base of the red cone and add the cotton.
- Allow the glue to dry. Put the hat back on the cocoa-filled bag. Slip the whole thing into the second pastry bag.
- Add enough marshmallows on top of the cocoa cone to create a beard for Santa.
- Fold the end of the cone flat, as though wrapping a package, and tape into place.
- Glue a cotton ball to the top with hot glue.
- Use hot glue to add the eyes, red pom pom nose, and cotton pulled to make a mustache.
- Thanks to sunscholars.com for the idea.
TIP: Add a little tag that explains how to mix the cocoa! Use the directions on the package of the cocoa mix you use.
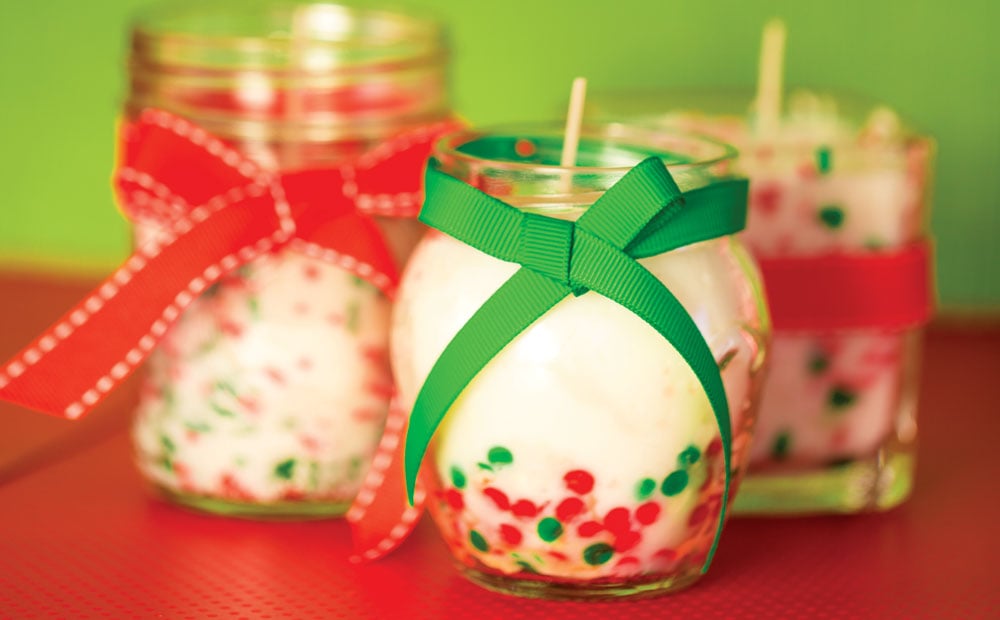
Funfetti Candles
Holiday sprinkles add season’s cheer to a candle that is heaven scent.
Ingredients and supplies
- 6 small glass votive holders
- Pre-waxed wicks
- Hot glue gun
- 2 to 3 tablespoons water
- 1 to 2 tablespoons corn syrup
- A small paintbrush
- Holiday sprinkles or other colorful decorations
- 1 pound soy wax flakes
- Cupcake, cotton candy, or vanilla liquid candle scent
- 2-cup measuring cup with spout, microwave safe
Directions
- Attach the wicks to the bottom of the votive holders with hot glue.
- Mix corn syrup and water. Use the small brush to coat the inside of the jars with the corn syrup mixture, not the bottom. Hold the jar horizontally and add a spoonful of sprinkles. Slowly roll the jar until the sprinkles stick to the sides. Add another spoonful and repeat until the inside is completely covered.
- Fill the 2-cup measuring cup with soy candle flakes. Microwave for 1 to 2 minutes until wax is melted. It should appear almost clear.
- Hold the wick in place and slowly pour the wax into the holder. Pour directly into the center and away from the sides. Some of the sprinkles will fall to the bottom, but that’s OK.
- Repeat with the rest of the wax and the other jars. Place jars immediately in the freezer for 3 to 4 hours.
Thanks to bethcakes.com for the idea.
SHOPPING TIP: We found the soy wax flakes, liquid candle scent, sprinkles, and votive holders at Ben Franklin.
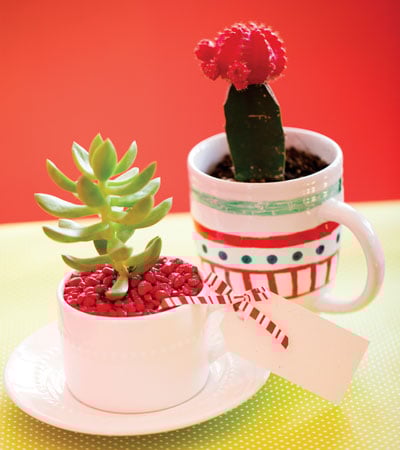
Christmas in a Cup
A child’s artwork cheers up a cute and low-maintenance holiday succulent.
Ingredients and supplies
- Teacups or mugs
- Cacti or succulents of your choice
- Small pebbles or stones
- Cactus soil
- Broken shells, aquarium rock, or marbles for the top
Directions
- Cover the bottoms of teacups with a layer or two of pebbles for drainage. Place a plant inside and add cactus soil around it.
- Top with a layer of colorful stones.
- Add a tag with instructions. The plants will do well when placed in filtered or indirect sunlight.
Optional Project
Have your child personalize the teacup or mug with Sharpie markers. Make sure the cup is ceramic. Once the decorations are dry, bake the mug at 425 degrees for 30 minutes and allow to cool completely. The mug may now be washed without erasing the decoration.
Thanks to tattooedmartha.com for the idea.
SHOPPING TIP: We found our mugs at Goodwill and Target. We found the plants and cactus soil at City Mill. Regular soil holds too much moisture and can kill your plants.
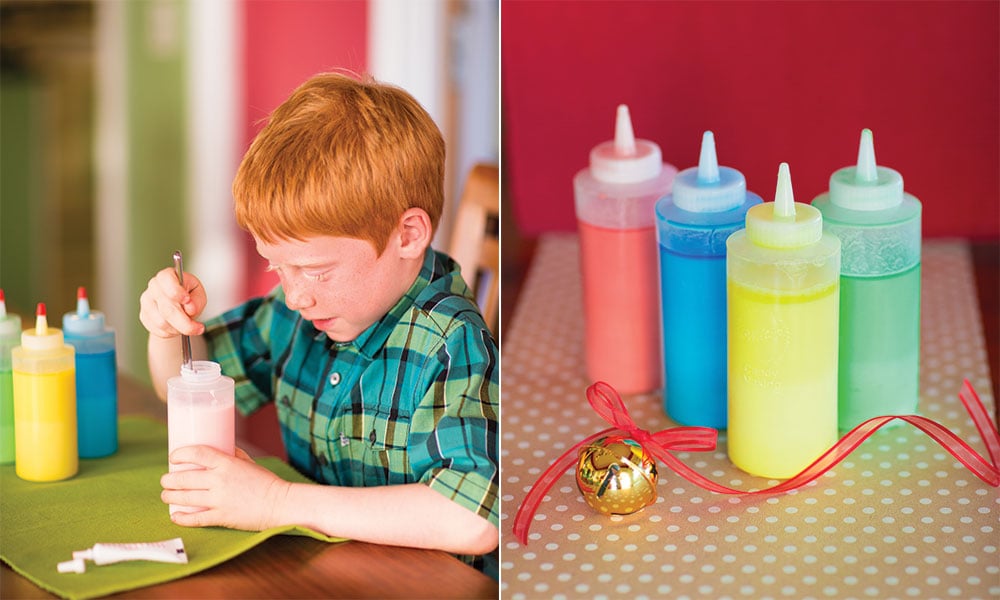
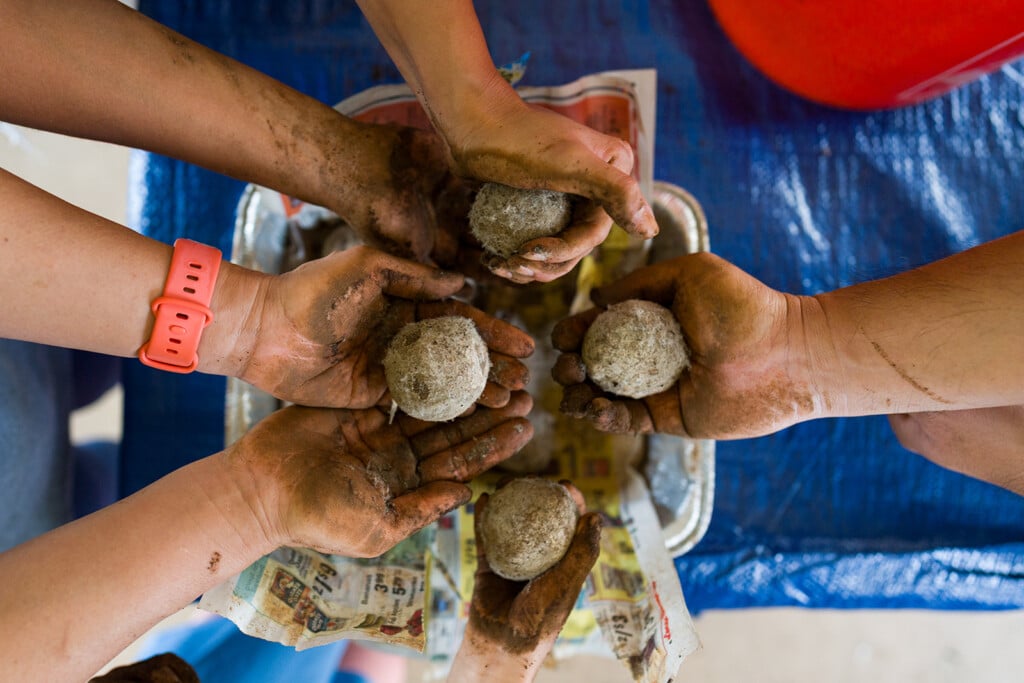
Foaming Sidewalk Chalk Paint
A special ingredient gives this squeezable sidewalk chalk a fizzy surprise.
Ingredients and supplies
- 2 cups cornstarch
- 2 cups baking soda
- Vinegar
- Food coloring
- Water
- 5 squirt bottles
Directions
- Mix cornstarch and baking soda.
- Fill one of the bottles with 1 cup of the cornstarch and baking soda mixture.
- Add several drops of food coloring and 1/2 cup of water to the bottle. Add more food coloring until you have the color you want.
- Stir with a knife or wooden handle of a spoon. The mixture will be thick at first, then will smooth out during stirring. Cap the squeeze bottle and shake it well.
- Repeat with three more squirt bottles, adding a different color to each bottle.
- Fill the last squirt bottle with vinegar.
Children can use the chalk paint to draw designs on the sidewalk or driveway. Once the paint has dried a bit, give them the bottle of vinegar to squirt on their design and watch it erupt!
Thanks to growingajeweledrose.com for the idea.
GIFT TIP: Include a recipe card so the recipients can make more once they run out.